Create a Profile page for students, faculty, or staff.
View an example of a profile pageStep 1
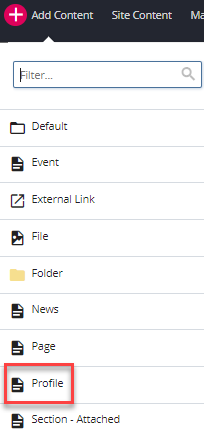
Go to Add Content and select Profile.
Step 2
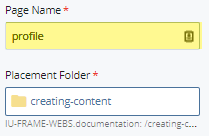
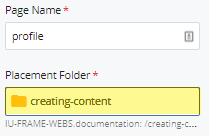
Enter the Page Name and choose the Placement Folder. The Page Name should be lowercase and include hyphens for spaces.
Step 3
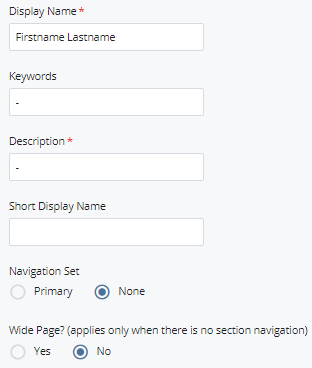
Enter information such as the Display Name and Description, social media, or banner in the same manner as a Standard Page type.
Step 4
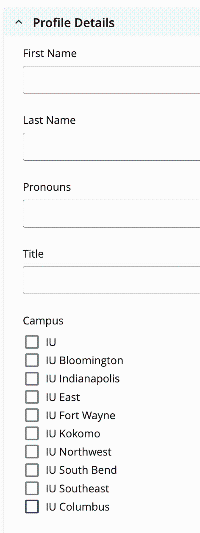
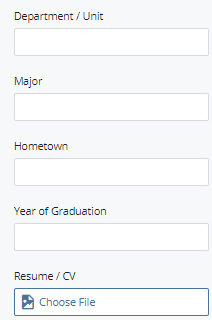
Expand to Profile Details. Enter the information on the person in the corresponding fields as desired.
Step 5
In Profile Details > Image, add an uploaded picture of the individual.
Note: The image size should be 768px x 768px.

Step 6
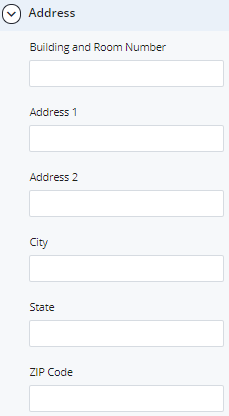
Under Profile Details > Address, enter the address, if desired.
Step 7
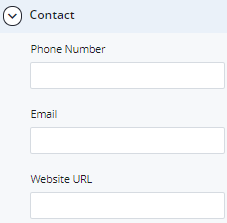
Under Profile Details > Contact, enter contact information as applicable.
Step 8
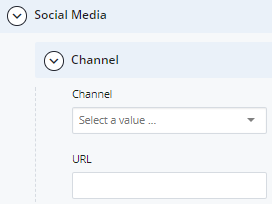
Expand to Profile Details > Contact > Social Media > Channel. Enter social media channels, if available.
Step 9
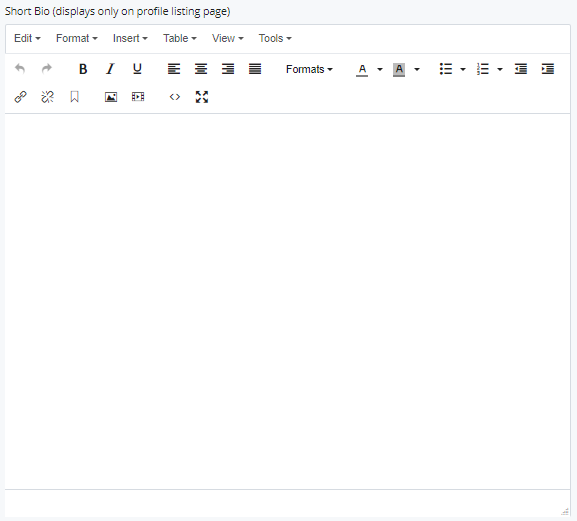
Enter a Short Bio. The Short Bio will show up on the listing index page if created.
Step 10
Build content using sections and chunks as in the Standard Page type.
Step 11
When complete save a draft by clicking Save & Preview. For the page to appear in the folder tree, select Submit. Publish the page.

