

Slideshows are great for showing the user a lot of photos without the page having to be long. For more information about image size, uploading images and adding alternative text, see the Image Guidelines page.
Image chunk—Slideshow
Example of a slideshow

Creating a slideshow
Step 1
Ensure all images have been uploaded to your site in the WCMS.
Step 2
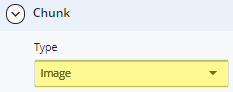
Expand to Section > Chunk. Under the Type drop-down menu, choose Image.
Step 3
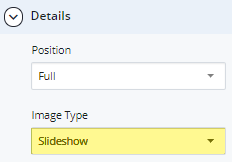
Under Section > Chunk > Details, select the Position. In the Image Type drop-down menu, choose Slideshow.
Step 4
Under Section > Chunk > Details > Slide, use the green [+] to add slides.

Step 5
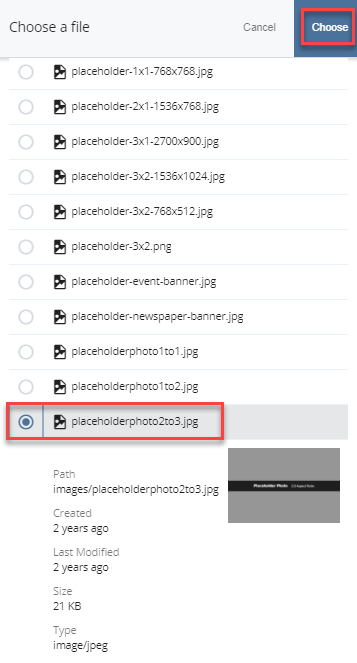
Click in the image field. Select the image for the first slide and click Choose.
Step 6
Enter a Caption.

Step 7
Enter an Attribution.

Step 8
Repeat steps 5-7 for additional slides.
Step 9
To save a draft, click Save & Preview. Submit the draft to apply your changes. Publish the page.