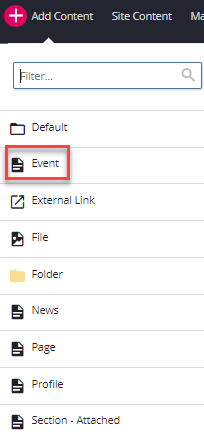
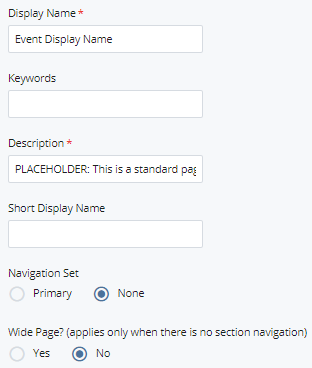
Step 3
Enter page details such as Display Name and Description in the same manner as with the Standard Page type.
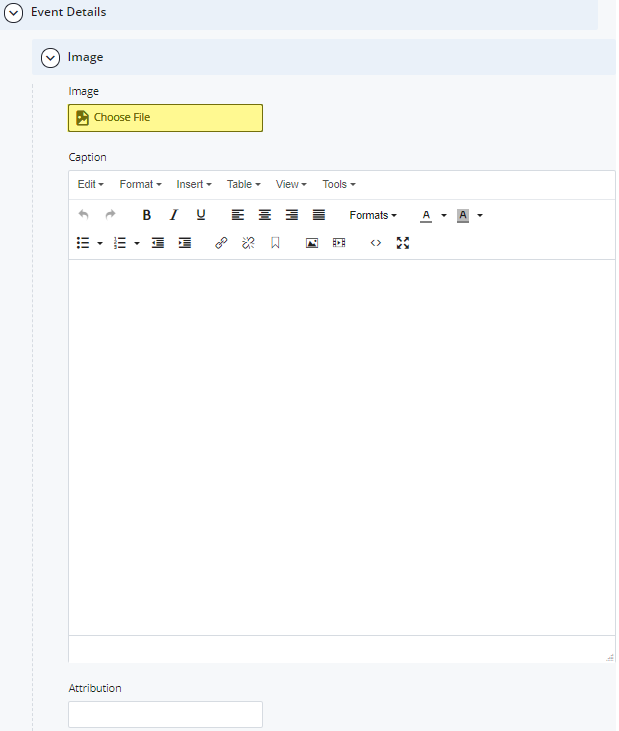
Step 4
Expand to Event Details > Image and add an event image. Ensure that the square image has been uploaded to the WCMS prior to this step.
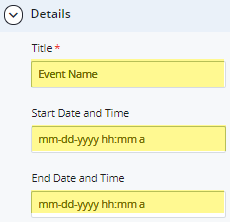
Step 5
Under Details, enter the Title, Start Date and Time and End Date and Time.
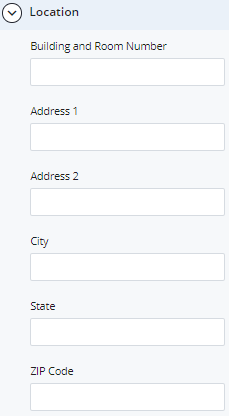
Step 6
Under Location, enter the following as applicable:
- Building and Room Number
- Address
- City
- State
- ZIP Code
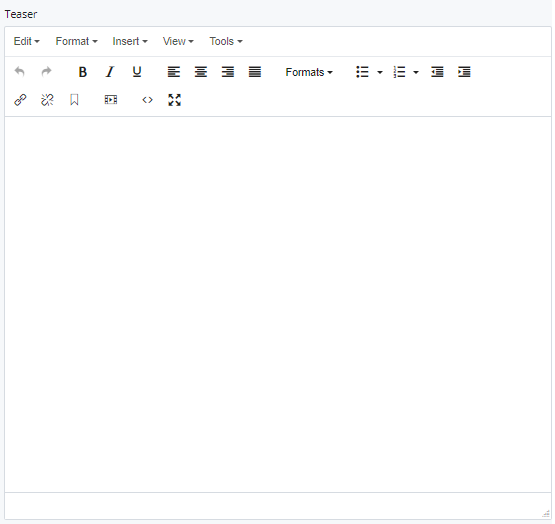
Step 7
Add a Teaser for the event if desired. The teaser will appear on the listing index page.
Step 8
Build the page using sections and chunks similar to the Standard Page type.
Step 9
When complete Save & Preview to view your draft. For the page to appear in the folder tree, select Submit. Publish the page.