
Use Page to create a standard page.
View an example of a standard page
If you wish to create a page for specific targeted users that should not appear in search engine results, use the noindex Function.

Use Page to create a standard page.
View an example of a standard page
If you wish to create a page for specific targeted users that should not appear in search engine results, use the noindex Function.
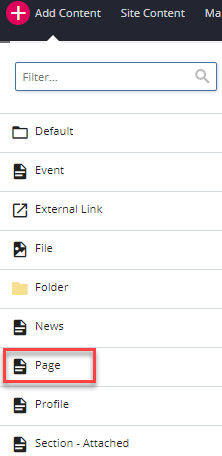
Go to Add Content and select Page.
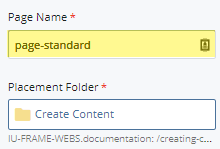
Enter the Page Name and the Placement Folder. The Page Name should be in lowercase and use hyphens instead of spaces.
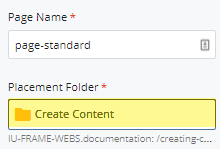
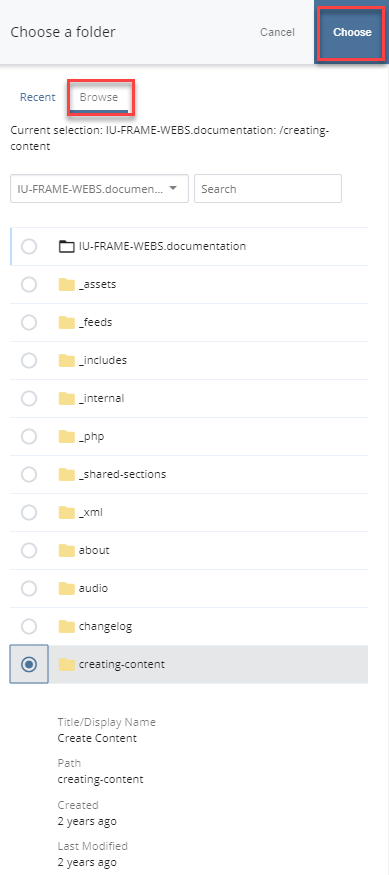
If you need to change the Placement Folder, click in the Placement Folder field. Choose a Folder will display on the right-hand side. Click Browse and select the radio button next to the folder where your page will be saved. Click Choose after selecting your folder.
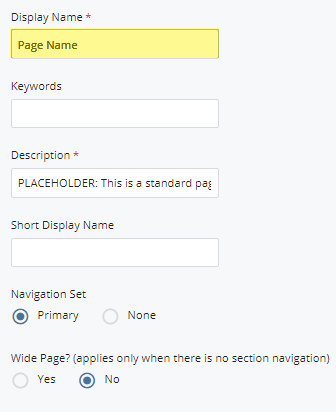
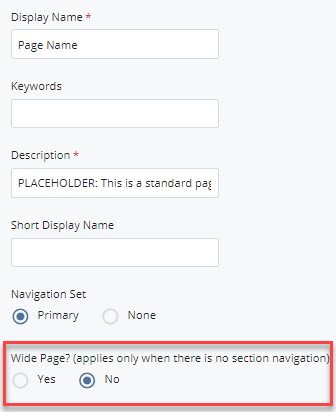
Enter the Display Name. The Display Name will be the page title and what appears in the navigation.
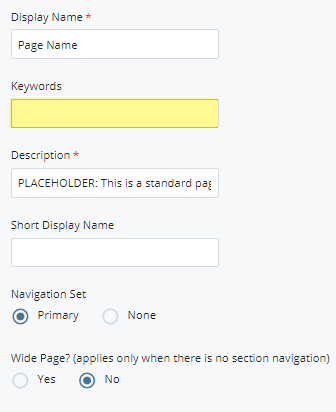
If using the Keywords field, enter keywords specific to the content of that page. Place commas between each keyword. Keywords are used for search engine optimization (SEO) and are optional.
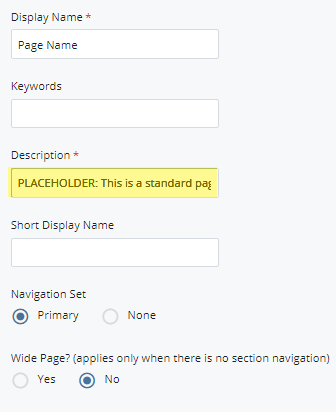
Enter the Description. The Description field contain a sentence about the page. The description is used for search engine optimization (SEO), and may get pulled in when a page is shared on social media, so it is important to replace the placeholder text.
If desired, enter a Short Display Name. The Short Display Name is an alternate navigation label. For example, if you have a long Display Name, you can enter a shorter name in Short Display Name to appear in the navigation.

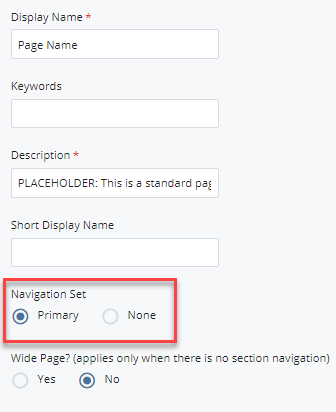
Select the Navigation Set.
Select Yes or No for a Wide Page. Wide Page can be used when there is no section navigation.
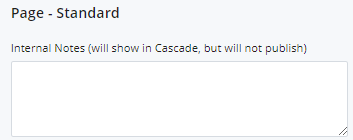
Under Page - Standard, add any Internal Notes. Internal Notes are notes that will be displayed in the WCMS but will not appear on the published site.
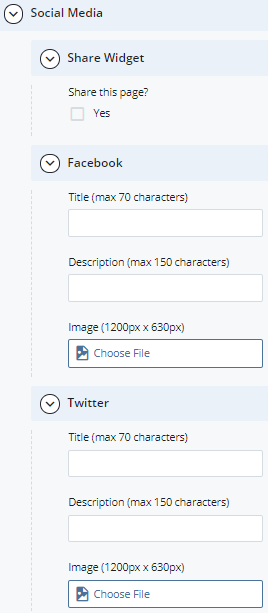
Scroll down to Social Media. If you would like to display a Share Widget on your page, check the box and enter custom sharing information for Facebook and X. For more information about these options, see the Social Media Sharing page. These are optional.
A Banner may be added to the page.

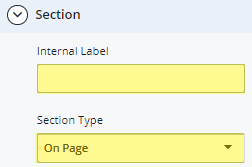
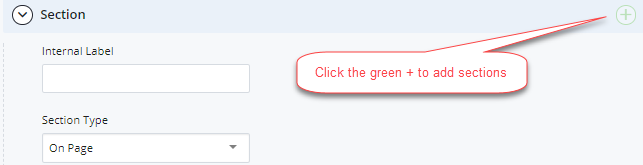
Under Section, add an optional Internal Label. The Internal Label is a short description of the section for reference when editing in the WCMS. Choose the Section Type. This is either On Page or Attached.
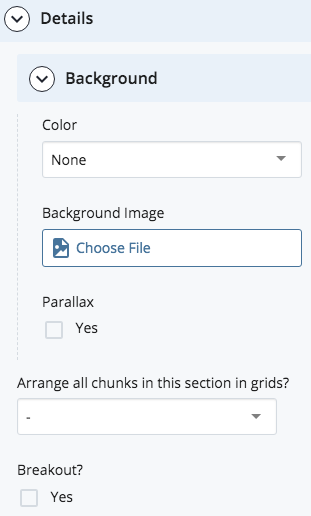
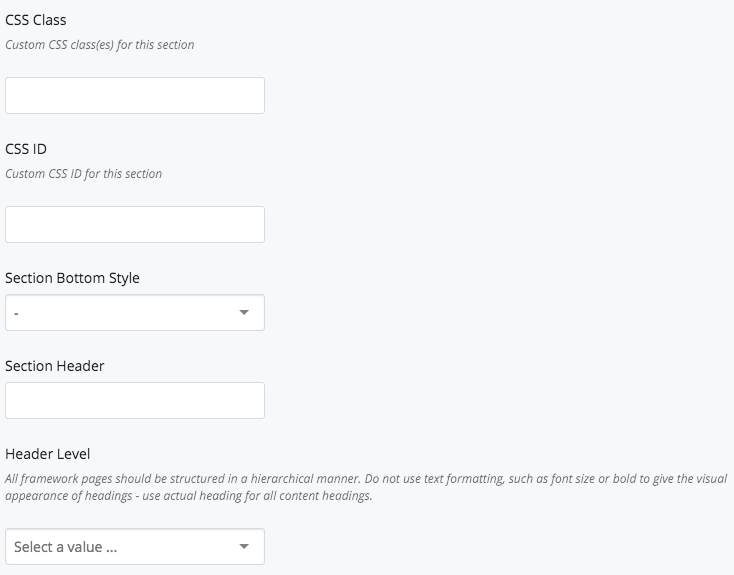
Expand to Section > Details > Background. Enter information in the fields as described on the Sections page.
Click the green plus sign [+] button to add sections.
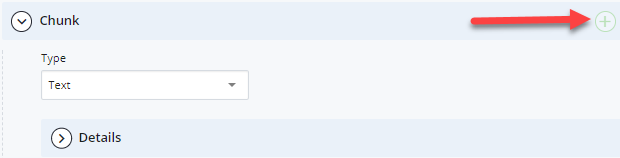
Expand to Section >> Chunk. Build your page by using chunks. Click the green plus button [+] to add chunks.
To preview the built page, click Save & Preview. Add the page to the folder tree by selecting Submit. To view the page on the website, publish the page.