

Can’t decide what image size to use? For recommendations and more information about uploading images and adding alternative text, see the Image Guidelines page.
Image chunk—Single Image

Creating a single image chunk
Step 1
Ensure that the image has been uploaded to your site in the WCMS.
Step 2
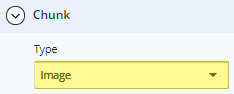
Expand to Section > Chunk. From the Type drop-down menu, choose Image.
Step 3
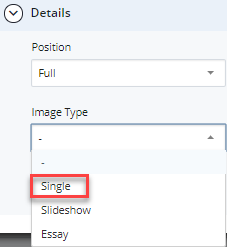
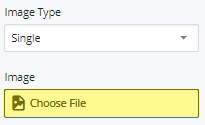
In Section > Chunk > Details, choose the Position. Choose Single from the Image Type drop-down menu.
Step 4
Click in the Image field.
Step 5
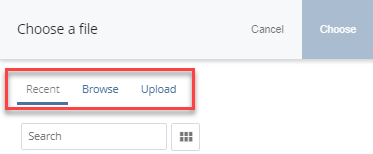
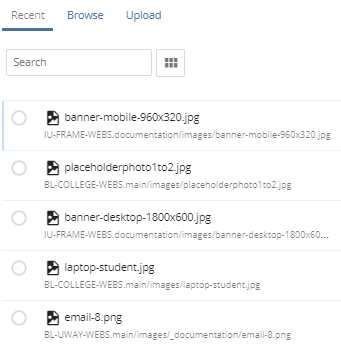
The Choose a file dialog will open. You can select a Recent file or Browse for one.
Step 6
For Recent files, select the radio button for an image that was viewed recently.
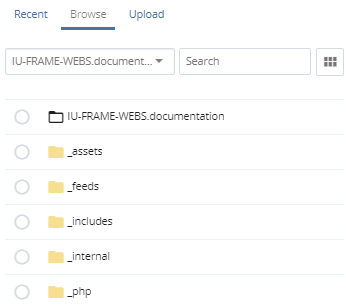
Step 7
When browsing for an image, select the radio button for the image folder, then the image within that folder.
Step 8
When you have selected your image file, click Choose.

Step 9
Enter a Caption, if desired.

Step 10
Add an Attribution, if necessary.
Step 11
To save a draft, click Save & Preview. Submit the draft to apply your changes. Publish the page.